HOW TO TEST
To test connections, the correct would be to use a multimeter, but not everybody have such tool (and not everybody knows how to use one). So we believe that would be cool to show an easy and cheap way of testing it.
You’ll need an ordinary LED, a 3V watch battery (it can be any 3V watch battery, such as CR2032, CR2025, CR2016 and so on), electric cable and electrical tape.
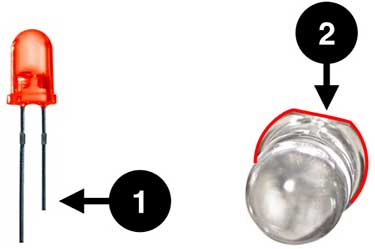
Its mechanism is very simple, first, test the LED and the Battery. Touch the LED’s bigger pin on the positive side of the battery and the smaller one on the negative.

A tip to find out which one the positive pin is and which one is the negative. Negative is the smaller pin. If you got your LED at scrap and they came with both pins at the same size, there’s another way to identify them. If you look at the LED from the top, you’ll note that it isn’t perfectly round, there’s a bevel (a straight part) right above the negative pin.
Now, stick a piece of an electric cable on the negative pin and another one on the positive. You can use a cable with crocodile clip (see image) or an ordinary electric cable, using electrical tape to stick it. With this mechanism you can test several things, including connection between cables.
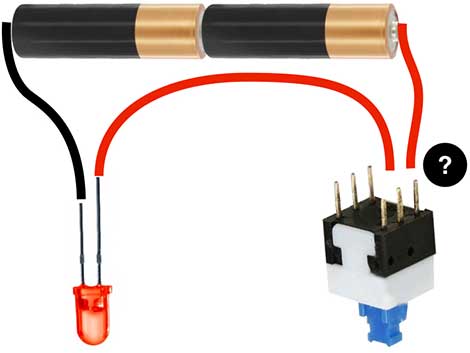
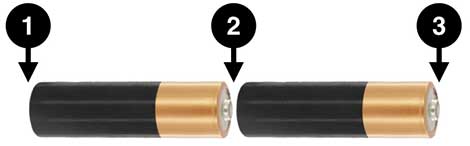
You can also use two AA batteries. Put them in series (as shown in image).

Then use a piece of electrical tape to stick a cable on the negative pole (1), another piece to join the batteries (2), and a third piece to place a cable on the positive pole (3).
For example, if you find an on-off switch with six pins and you don’t know which ones to solder, this mechanism can help you.