
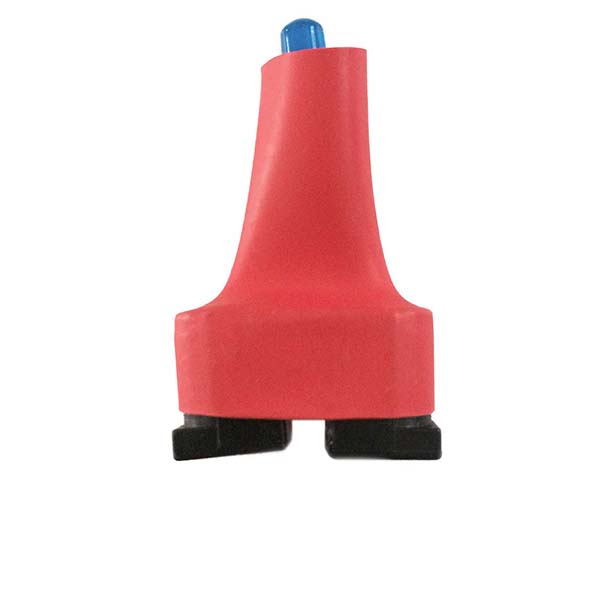
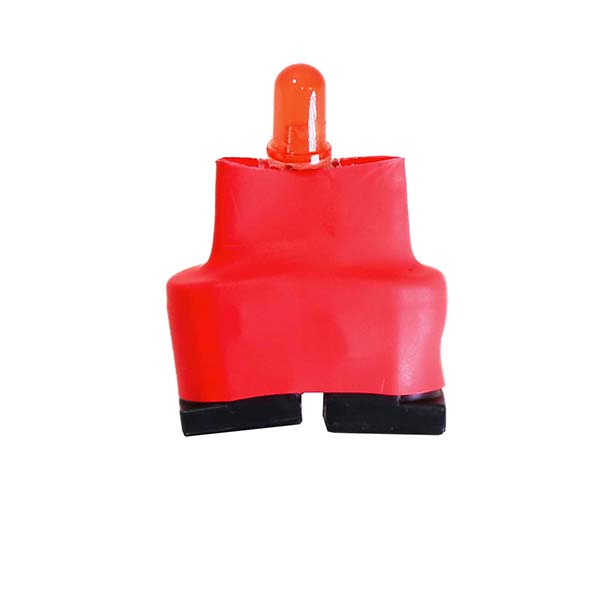
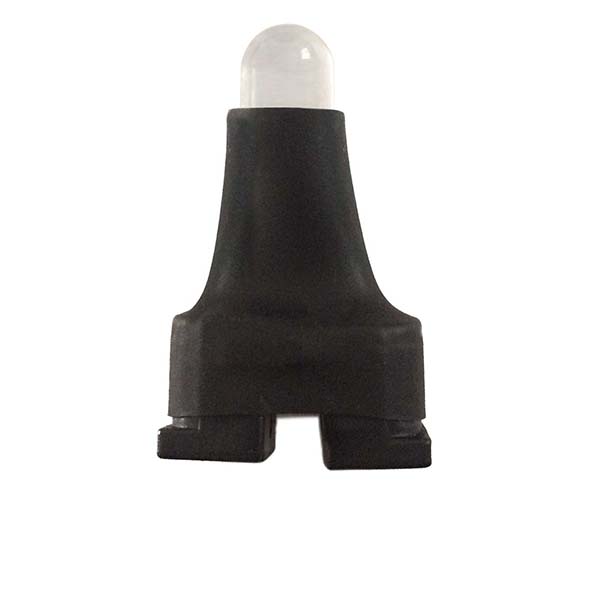
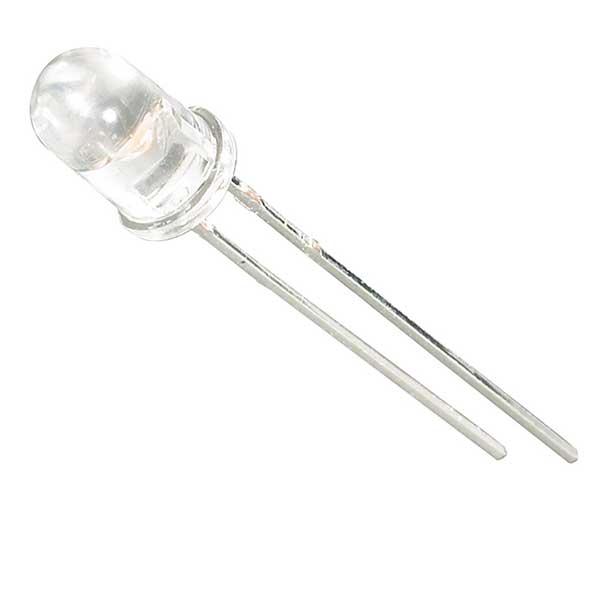
LED
ITEMS NEEDED
-
LED
-
150R Resistor
-
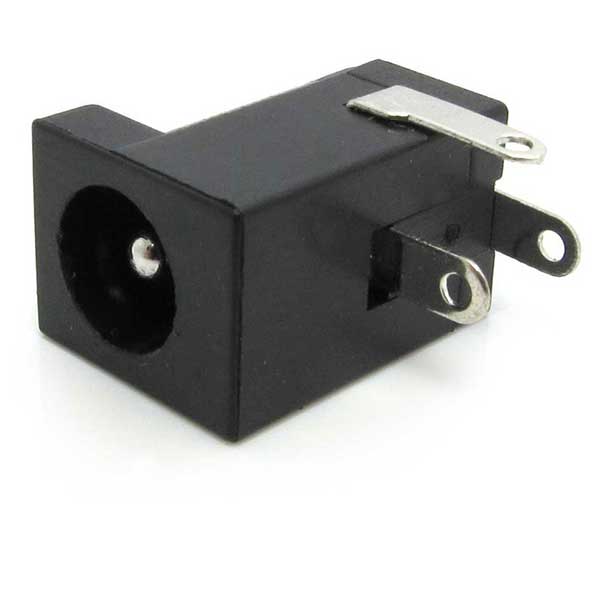
Female Connector
2 x -

Heat Shrink Tubing
Electrical Tape
HOW TO ASSEMBLE
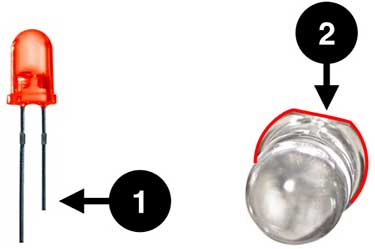
To the light module, we’ll use a LED.
A tip to find out which one the positive pin is and which one is the negative. Negative is the smaller pin. If you got your LED at scrap and they came with both pins at the same size, there’s another way to identify them. If you look at the LED from the top, you’ll note that it isn’t perfectly round, there’s a bevel (a straight part) right above the negative pin.
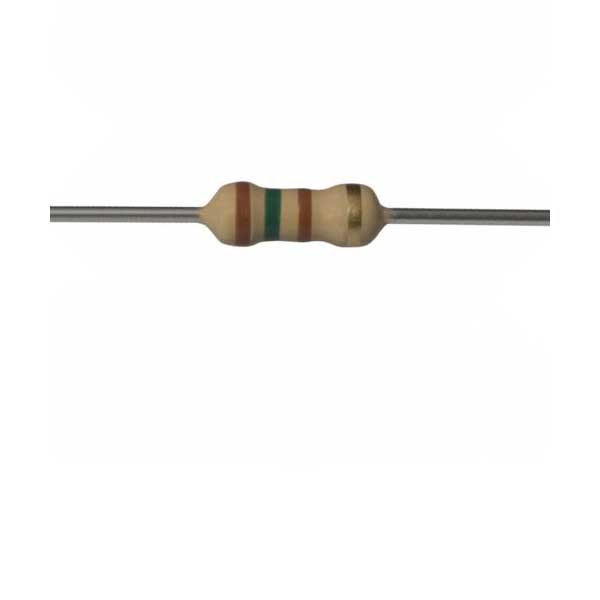
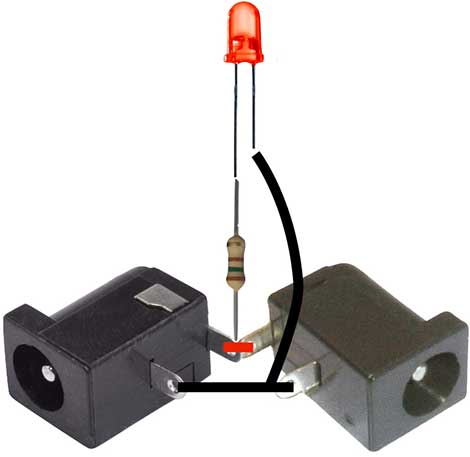
The LED is used in electronic equipment and it’s a 3V part. Since we’re using 5V, we’ll need a 150R resistor (also called 150A or 150 Amperes). To identify this resistor, it has 4 color stripes displayed at this order: Brown, Green, Brown and Golden. You can solder in both ways, up or down, that is, with the golden stripe facing the LED or the connector, whatever. LED’s bigger pin goes on the resistor and it goes on the connector’s positive.
Even if you cut a piece of the LED’s pins, they can still bend and touch one another. To avoid this contact which would cause a short circuit, after soldering, put some electrical tape, a narrow heat-shrink tube or the glue gun.
watch the video
HOW TO TEST