
Power 9V
ITEMS NEEDED
-
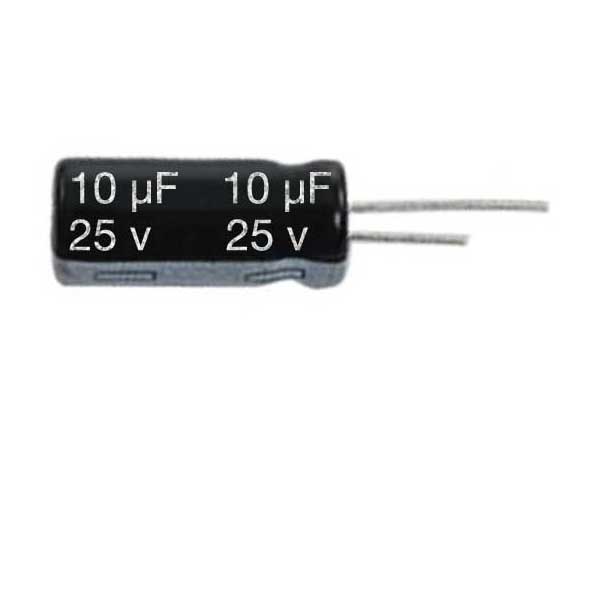
Electrolytic Capacitor 10uF - 25V
-

Electrolytic Capacitor 1uF - 63V
-
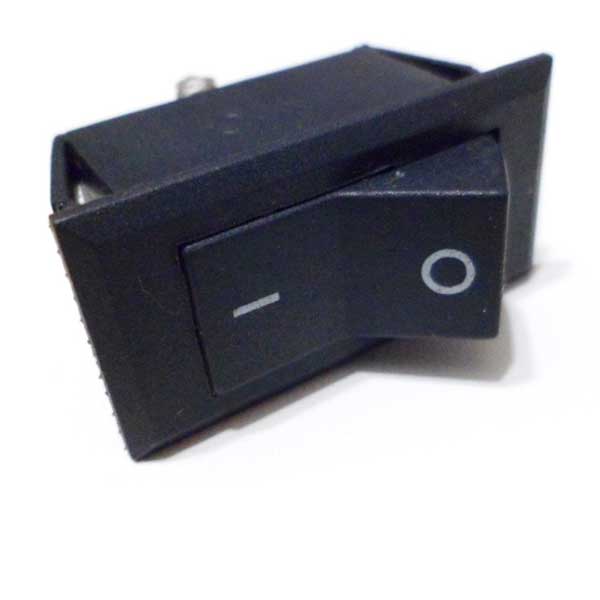
on/off switch
-
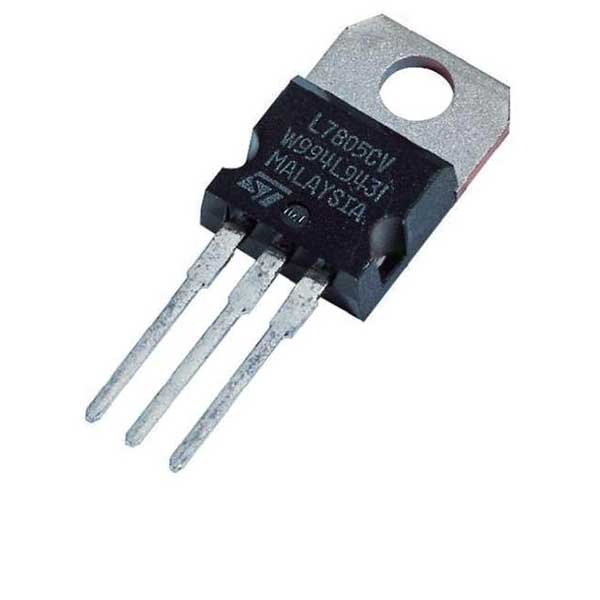
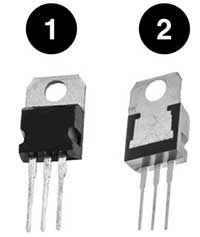
Voltage Regulator LM7805
-
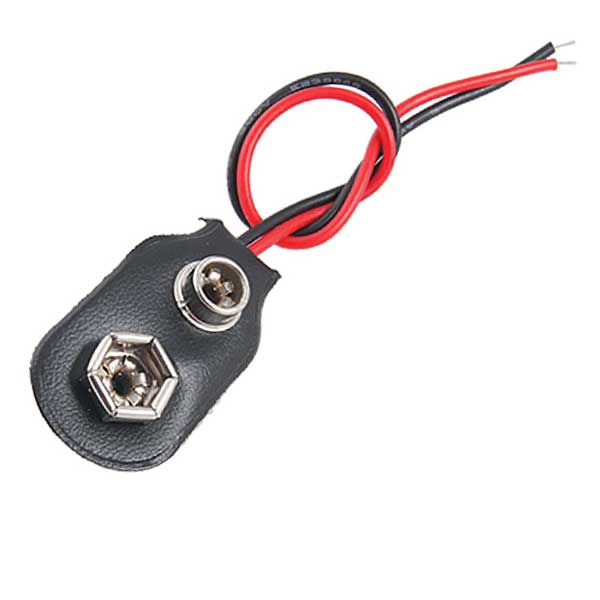
9V Battery clip
-
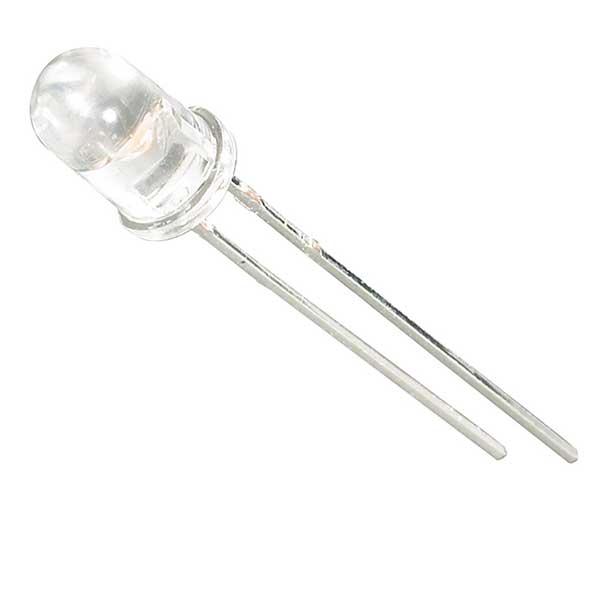
LED
-
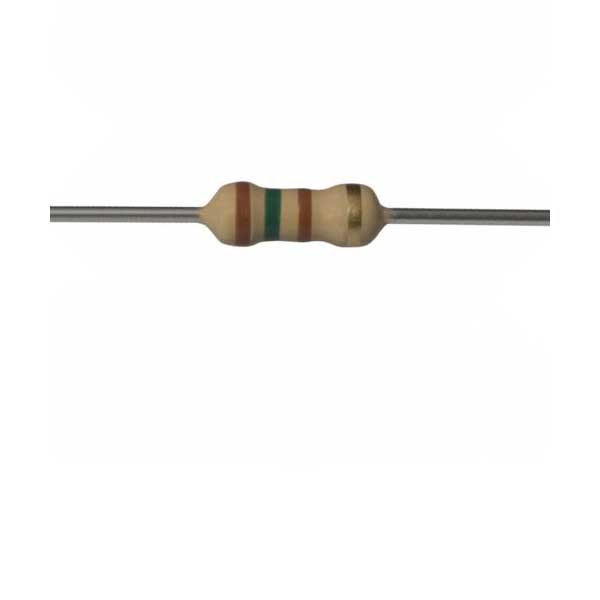
150R Resistor
-
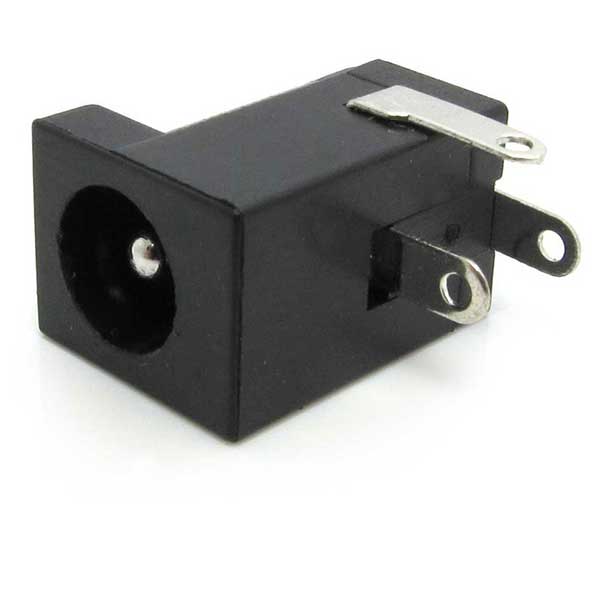
Female Connector
-

Heat Shrink Tubing
Electrical Tape
-
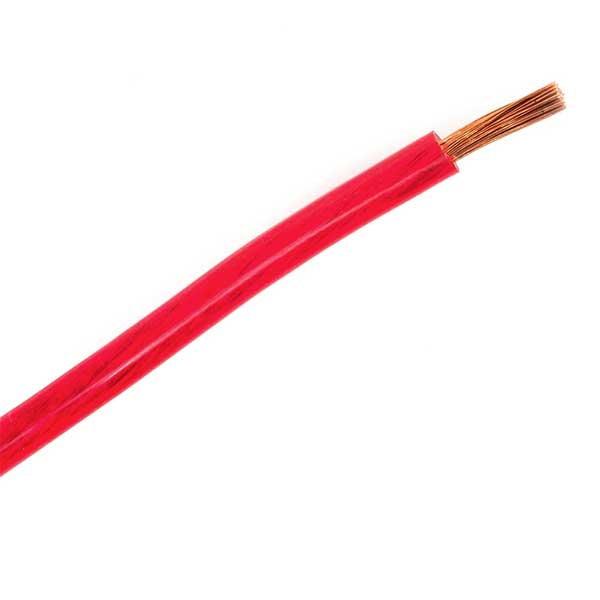
Electric Cable
Ethernet Cable
HOW TO ASSEMBLE
The 9V module is to be used with 9V batteries, which are very easy to find.
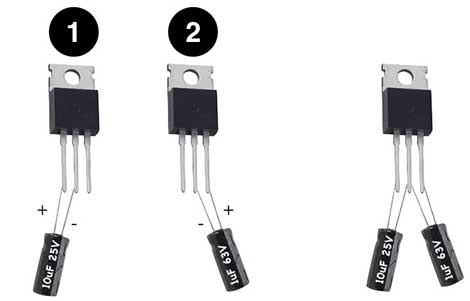
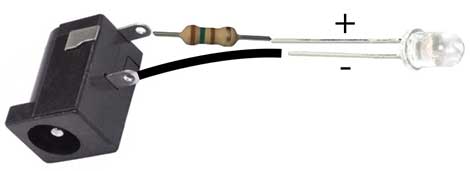
Before, some cares. The capacitor is polarized. Just like the LED, the smaller pin is the negative and the bigger one, the positive.
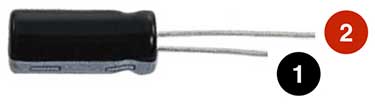
Be careful not to mix the capacitors. In this module we have a 1uf and a 10UF capacitor. They have the same physical shape, but their powers aren’t the same.
The integrated circuit LM7805 has three pins. To not confuse what is the input pin, note that our diagrams always shows their front (1), not their back (2).
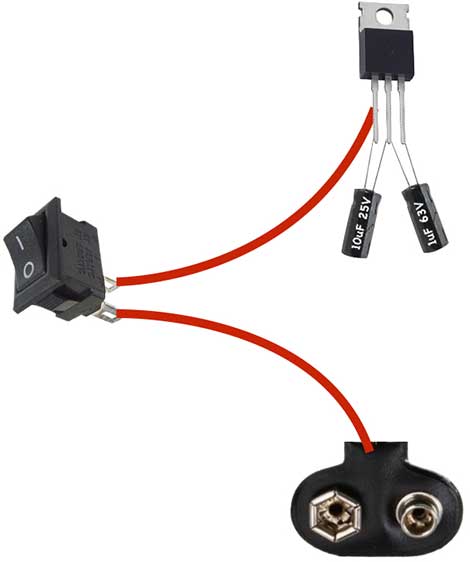
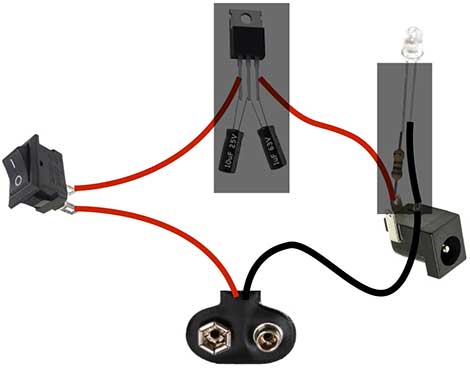
Start the assemble with the core.
Now, solder a LED to the connector.
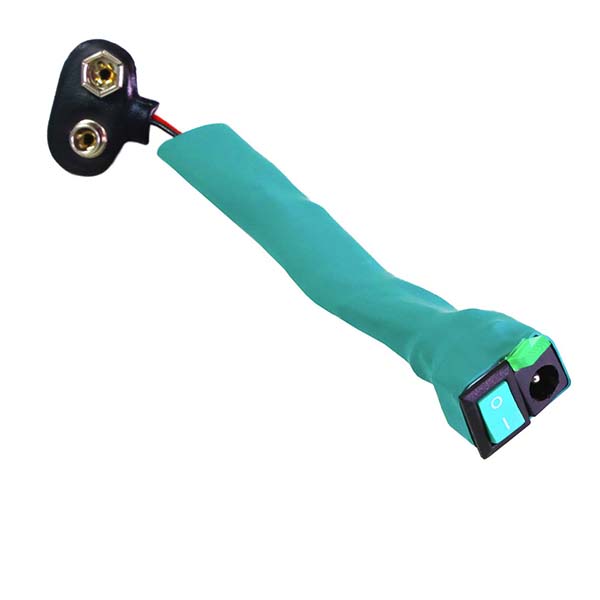
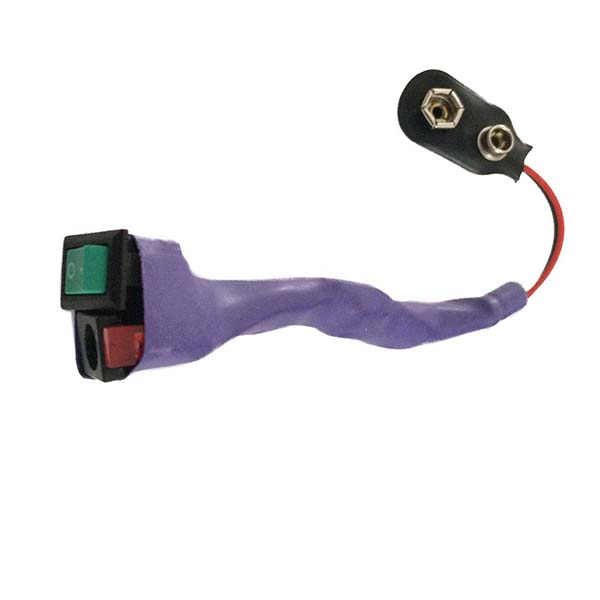
Now, solder the on/off switch and the battery clip like this.
And last, solder the connector like this:
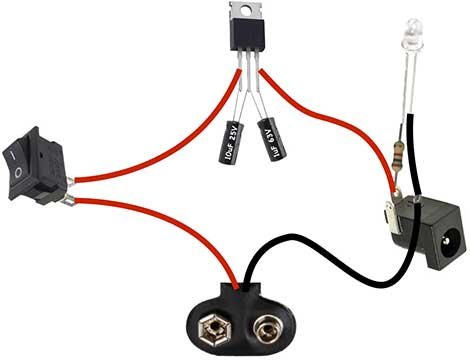
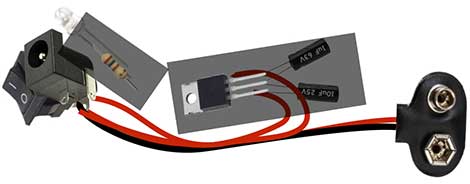
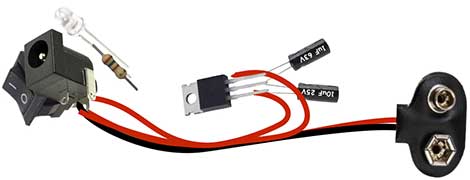
Now, put some electric tape on the core and on the LED to avoid the contact between pins and cables when they’re all together.
To assemble finishing only with the heat-shrink tube, organize the parts like in the image below. At one end, the on/off switch, the connector and the LED, real close to each other. At the other end the battery clip. And between them, all the rest.
watch the video
HOW TO TEST