
signaling gloves for cyclists
OBJECTIVE: fast prototyping practice and innovation concepts.
DIFICULTY: easy.
SUGGESTED KIT: 2 LED modules (any color, but red is preferable), 2 energy modules 2 button modules and 4 cables.

ACTIVITY:
This activity was inspired on the Leah Buechley's project biking jacket.
This project consists in making a signaling glove for cyclists. By mixing the kit with clothing it is possible to demonstrate the concept of smart cloths (wearables).
When the cyclist wants to turn left, he presses a button in his left hand and a indicative light will show to whom is behind him the direction he intends to get.
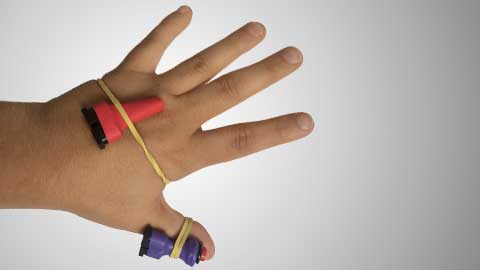
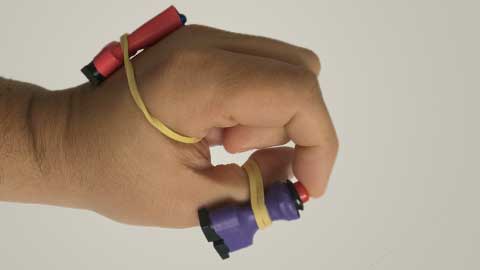
The operation is quite simple. You must place a button to the cyclist to press. This button must be of easy access and must not stand in the way of the cyclist's hand when holding the bike's gauntlet. We suggest you place the button above the thumb (see image) but you may test other places and positions.
In order to test the position, use rubber band to fixate the modules.
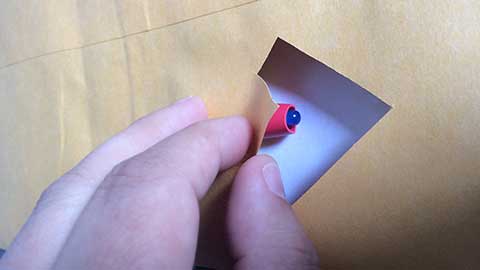
Make an arrow shaped hole in an opaque material. Place the LED next to it and use some kind of adhesive tape to hold it in place.
Cover the hole with a white paper so the light can get diffuse (spread through all the hole)
Place the light in the back of the cyclist's hand or in his back, in a jacket. Connect the cables and test it. Do the same for the other side.
Each kid must tell the others about his/hers experience (how they've done it, what did they liked more, how does their's work and so on)
Document everything (test, take pictures, film it) and send us so we can publish it on the website :D
BACK